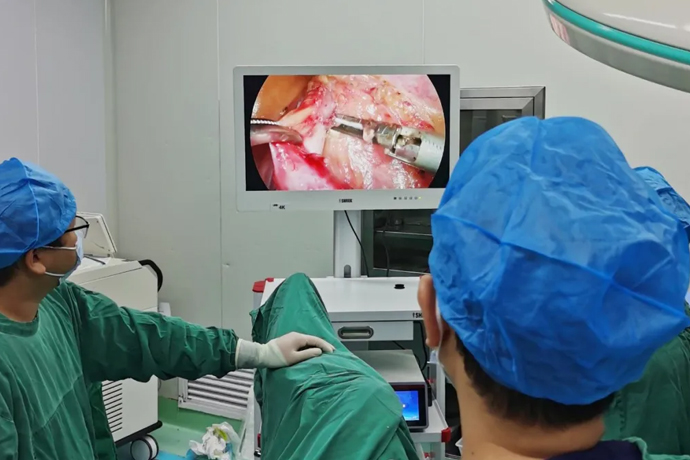
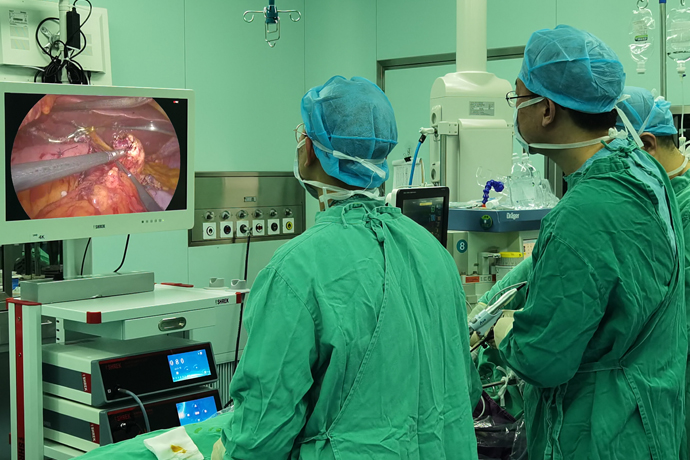
[General Surgery Laparoscopy] 4K ultra-high definition laparoscopic pancreaticojejunostomy
Release time: 20 Nov 2024 Author:Shrek
Pancreatojejunostomy is an important step in pancreaticoduodenectomy, which is used to connect the remaining pancreas to the jejunum after the pancreas is removed to restore the drainage and digestive functions of pancreatic juice. Laparoscopic pancreaticojejunostomy is performed using laparoscopic technology. Compared with traditional open surgery, it has the advantages of less trauma, faster recovery, and fewer complications.

Surgical steps
The pancreas moves 2 cm.
The diameter of the pancreatic duct is 6 mm.
Inserting a pediatric feeding tube.
Adjust the needle straight.
Blumgard Transpancreatic U-Suture Made of Prolene 3-0.
Sutures are clamped to prevent tangling.
Second Blumgard U shot.
Complete the U-shaped suture underneath the entire lower pancreatic duct.
Small jejunostomy was created by Hook.
Catheterization to mucosa is performed with PDS 4-0
The P-tube stent is inserted into the jejunum and fixed.
When creating the knot of the catheter-to-mucosal suture, have an assistant pull the suture to reduce tension at the P-catheter suture.
The 3rd Blumgard U shot.
Kakita type pancreatojejunal close-fitting anastomosis
It is assumed that the position about 5cm away from the stump of the levated jejunum is the planned anastomosis site, and the upper edge of the pancreas, the lower edge of the pancreas, and the planned anastomosis site of the pancreatic duct are marked with electrosurgery. Cut a little of the serosal layer, gently pull out the mucosa and make an incision. During the anastomosis operation, because the jejunal aperture will expand, it should not be too large. Insert the bamboo-like pancreatic duct (with an enlarged nodule in the middle) from the upper jejunal stump, and lead it out from the hole for later use. Peel off at least 1cm behind the stump of the pancreas. Slightly straighten the 4-0 Prolene SH-1 needle (diameter 26mm) into a J shape. The suture is passed through from the ventral side of the pancreas to the dorsal side, and then the serosal layer of the jejunum is sutured from deep to superficial. The suture margin on the pancreas side is about 1cm (equivalent to the thickness of the pancreas).It is important to completely cover the pancreatic stump with the jejunum, so the width of the suture on the jejunal side should be more than 1.5 times the thickness of the pancreas or less than half the circumference of the jejunal wall. First, insert the needle close to the upper and lower edges of the main pancreatic duct while the pancreatic duct is inserted, and then remove the pancreatic duct and make sure that the pancreatic duct is not sutured, otherwise remove it and re-suturing it. It should be noted that the upper and lower edges of the pancreatic stump are easily not covered by the intestinal wall and are exposed. Sometimes there will be bleeding from the pinhole, and pressure can be used to stop the bleeding. During Kakita-style anastomosis, the distance between threads is 7mm, and most of the time 4 to 6 threads are used. However, if the pancreatic stump can be completely covered, it is better to have fewer stitches. At the end of the stitching, place the threads on the left and right sides.
Kakita type pancreatojejunal close-fitting anastomosis
A. Cross section of ligature.
B. Finish hanging the ligature. The key point of Kakita suture is that the pancreatic stump is completely covered by the intestinal wall.
C. There are 4 to 6 stitches. Taking into account the risk of pancreatic juice leakage from the needle hole and the blood supply of the pancreatic stump, it is better to have fewer needles.
Pancreatic duct and jejunum patchy anastomosis
A 5-0PDSIITF needle (single needle with a diameter of 12 mm) was used for anastomosis, and Machiaran forceps used for cardiac surgery were used as forceps. Generally, 8 stitches are used, with full-thickness suturing. The pancreatic duct side, together with the surrounding pancreatic parenchyma and the jejunal side, must be sutured together with the mucosa under direct vision. First, hang a traction wire from the outside to the center of the front wall of the pancreatic duct and then retract it, so that the pancreatic duct can be seen more easily. Then suture the upper and lower ends of the pancreatic duct, and then sew 3 stitches on the posterior wall in the order of inner and outer and outer and inner. Ligate the sutures on the posterior wall sequentially with moderate force to prevent excessive force from causing tearing of the pancreatic parenchyma.After the posterior wall is ligated, the pancreatic duct is inserted and fixed with a suture in the center of the posterior wall. When suturing the anterior wall, it is much easier to use the backhand needle and start from the jejunum side in the order of outer-internal-internal. Only in the center of the anterior wall, the jejunal wall was sutured from the inside to the outside using the previously indwelling traction wire. After 3 stitches are sewn on the front wall, they are ligated one after another.
Pancreaticojejunal mucosal anastomosis
A. Do not keep the pancreatic duct too long. After a needle is hung on the front wall of the pancreatic duct, it will be easier to see the pancreatic duct clearly. It is also possible to hang 3 pins on the front wall first.
B. The posterior wall has been ligated. The pancreatic duct is secured with a central suture (PDS).
C. It is easier to suture the anterior wall by backhand stitching from the jejunal side. If you use two-ended needles, you can increase the freedom of technique.
Ligation after Kakita suture
During sequential ligation, have an assistant pinch the intestinal wall to cover the pancreatic stump. Note that the technique should be gentle. The tightness of the ligation should be enough to allow thin-edged scissors to be inserted between the pancreas and intestine.
Kakita suture ligation
Most of the conditions can be met, such as the color of the pancreas stump is relatively good, there is no white saponification around it, it is completely covered by the intestinal wall, and the line does not sink deeply into the pancreas.

- Recommended news
- 【General Surgery Laparoscopy】Cholecystectomy
- Surgery Steps of Hysteroscopy for Intrauterine Adhesion
- 【4K Basics】4K Ultra HD Endoscope Camera System
- 【General Surgery Laparoscopy】"Two-step stratified method" operation flow of left lateral hepatic lobectomy
- 【General Surgery Laparoscopy】Left Hepatectomy